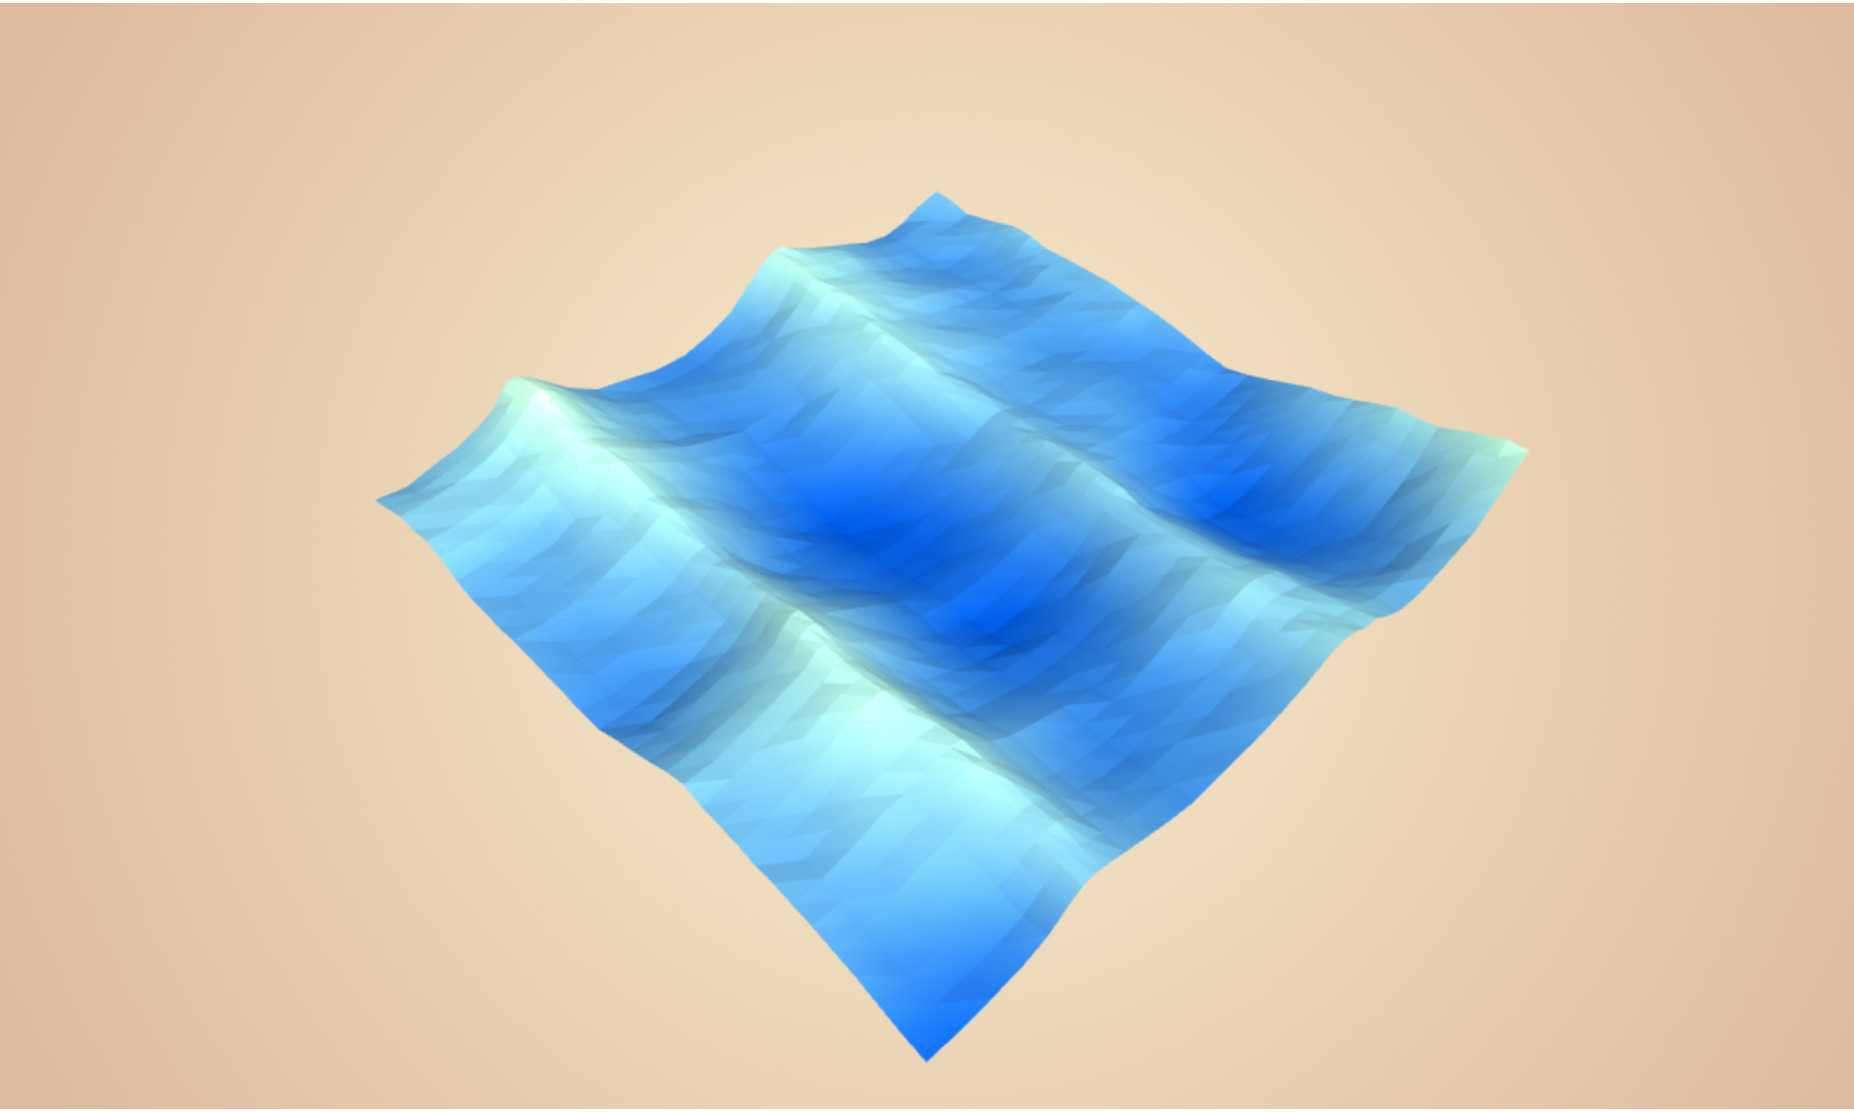
I currently am in the process of rewriting my website from scratch in React. This gave me an opportunity to really optimize the code for some of the WebGL elements featured on it.
Among those components, is the centerpiece of the site. This plane flying above an ocean. Anyone who sees that little demo within my presence, always asks me how it works.
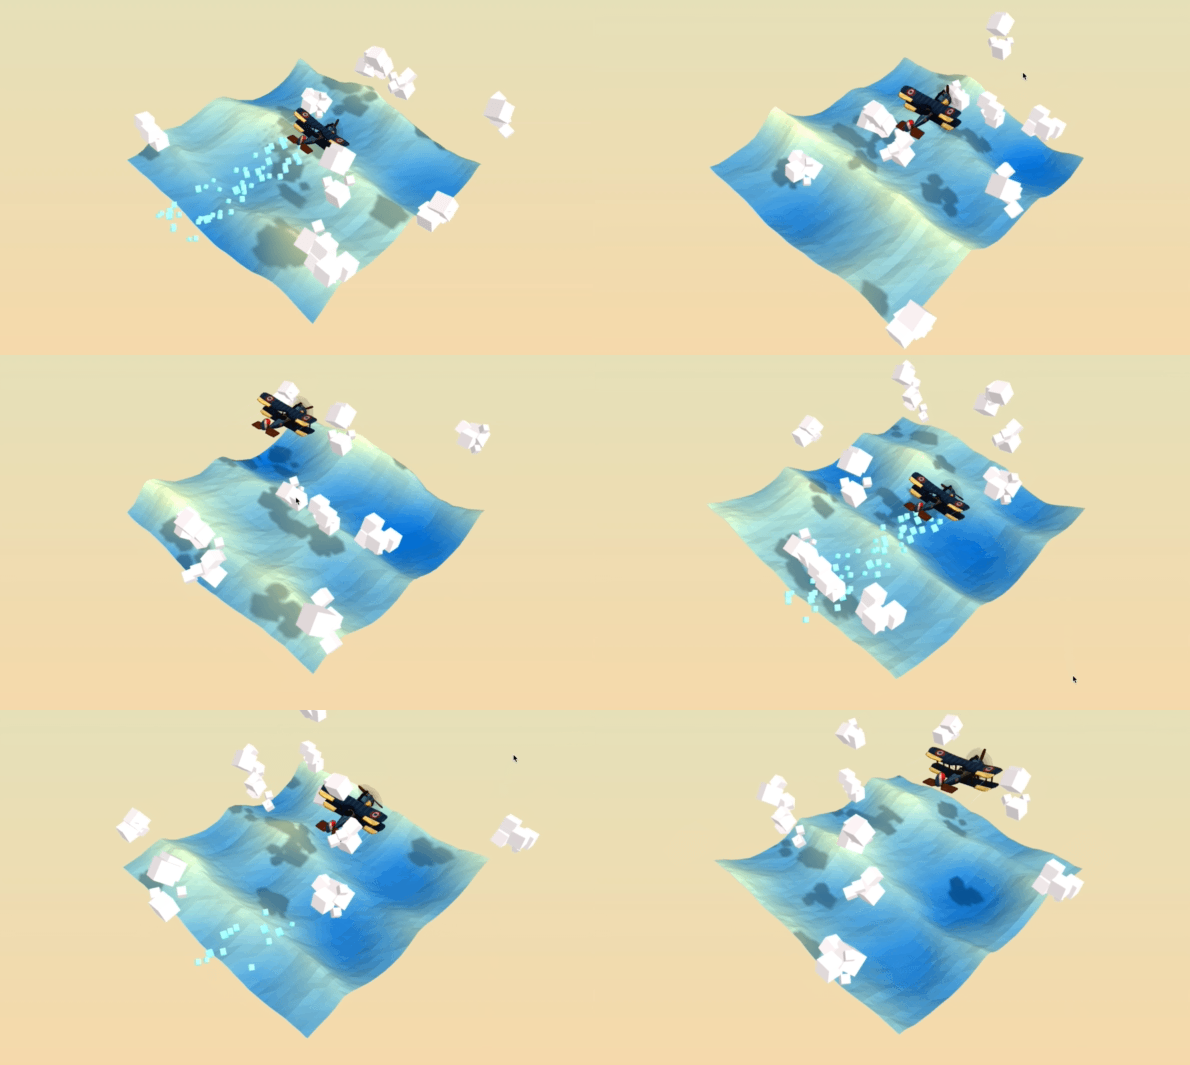
In this, and the next couple of posts, I will deconstruct some of the concepts that went into creating that demo.
Here is a quick summary of the various elements of interest -
- The Procedural ocean waves
- The Clouds rendered using instancing
- The procedural animation of the plane
In this article, we will cover the first of these concepts - Procedural ocean waves
As always, this is not meant to be a "beginners guide" to ThreeJS. It is, however, an interesting exploration of fairly basic concepts.
What waves are waves?
The most basic form of a wave I can think of is the Sine wave. You've probably seen this wave before, it looks something like this.
But this is not how real waves look. Here is an image of a wave for reference
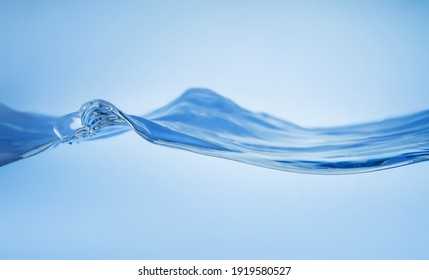
Notice how it is not a smooth sine wave but is rather "pointy" at its peaks and smooth at its troughs. This type of wave is called a Trochoidal Wave or Gerstner Wave.
I'll spare you the physics but we can generate this type of wave rather easily. Here is a Gerstner wave in all its glory
If you really want to know how to derive this then take a look at this fantastic article by Jasper Flick. In fact, this very article is what sparked the whole idea a few months ago.
A wave in code
Adopting Jasper's Unity-based shader to ThreeJS, I came up with this function
// The wave options
struct gln_tGerstnerWaveOpts {
    vec2 direction;   // Direction of the wave
    float steepness;  // Steepness/Sharpness of the peaks
    float wavelength; // Wavelength...self explnitory
};

// Gerstner Wave calculation.
// "time" is simply to animate it. Provide a constant here as an offset if
// you don't want it to animate
vec3 gln_GerstnerWave(vec3 p, gln_tGerstnerWaveOpts opts, float time) {
    float steepness = opts.steepness;
    float wavelength = opts.wavelength;

    float k = 2.0 * gln_PI / wavelength;
    float c = sqrt(9.8 / k);
    vec2 d = normalize(opts.direction);
    float f = k * (dot(d, p.xy) - c * time);
    float a = steepness / k;

    return vec3(
        d.x * (a * cos(f)),
        a * sin(f),
        d.y * (a * cos(f))
    );
}
Notice the gln_ prefix? Yes, this function is a part of my library gl-noise. I will use it to apply this function to a plane in a vertex shader. Here we go!
The plane
I have already set up some boilerplate and lighting. Let's add a flat plane
const material = new THREE.MeshPhongMaterial({
  side: THREE.DoubleSide,
  flatShading: true,
  color: 0x68c3c0,
  shininess: 1,
});
const geometry = new THREE.PlaneGeometry(5, 5, 32, 32);
const plane = new THREE.Mesh(geometry, material);
plane.rotateX(-Math.PI / 2);
scene.add(plane);
😞
This live demo uses WebGL
Your browser does not support WebGL.
Great! now I will apply the Gerstner Wave to the plane in its vertex shader
The Wave
gln_tGerstnerWaveOpts A = gln_tGerstnerWaveOpts(vec2(0.0, -1.0), 0.5, 2.0);

vec3 displace(vec3 point) {

  vec3 p = point;
  vec3 n = gln_GerstnerWave(p, A, 1.0).xzy;
  //             Must swap Y and Z Axis 👆
  return point + n;
}csm_Position = displace(position);If this way of writing shaders seems unfamiliar, that's because I am using another library of mine, three-custom-shader-material, to inject my own vertex shader into ThreeJS's inbuild MeshPhongMaterial. Please checkout the README.md of the libraries I use to see how to use them.
import { loadShadersCSM } from "gl-noise/build/glNoise.m";
import { CustomShaderMaterial, TYPES } from "three-custom-shader-material";

// ...
const pVert = {
  header: ".../vertex/header.glsl",
  main: ".../vertex/main.glsl",
};

const material = new CustomShaderMaterial({
    baseMaterial: TYPES.PHONG,
    vShader: await loadShadersCSM(pVert),
    passthrough: {
        side: THREE.DoubleSide,
        flatShading: true,
        color: 0x68c3c0,
        shininess: 1,
    }
}
const geometry = new THREE.PlaneGeometry(5, 5, 32, 32);
const plane = new THREE.Mesh(geometry, material);
plane.rotateX(-Math.PI / 2);
scene.add(plane);
😞
This live demo uses WebGL
Your browser does not support WebGL.
Looking good, it looks like the Gerstner Waves we discussed earlier! Which is...expected.
Calm Ocean
It looks like what a wave should look like, but not what we're going for. We're going for more of an ocean-like wave. Here is an ocean for reference
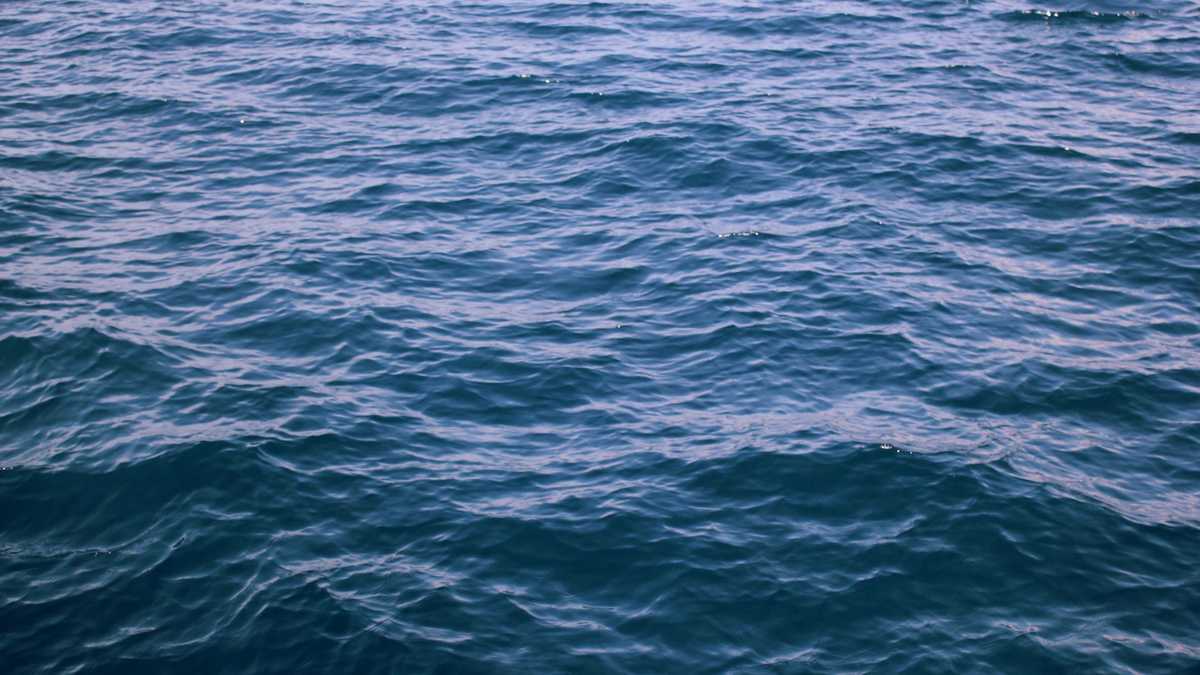
We see that an actual ocean has a ton more detail. Let's strip back the turbulence.
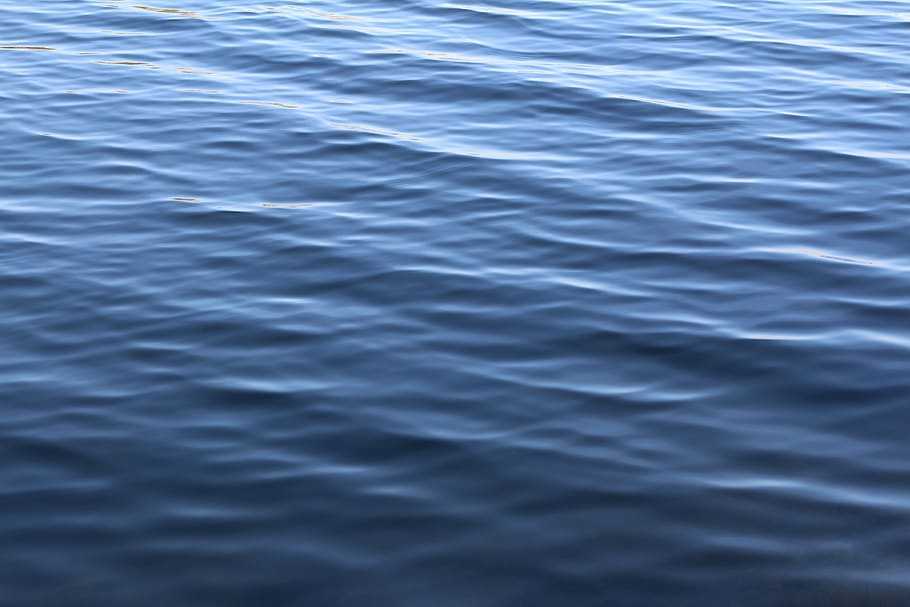
There we go. Now, we see that an actual ocean has multiple waves constructively and destructively interfering with each other. In other words, it's a bunch of waves all added together on top of each other.
But if we simply add the same wave to itself, it will only grow larger without giving us any detail. So we will add together 4 waves using Fractional Brownian motion.
This method involves adding multiple layers of noise with increasing frequency but decreasing amplitude. I will explore Fbm in a later article.
// We will use 4 waves with...           ...increasing frequency 👇
gln_tGerstnerWaveOpts A = gln_tGerstnerWaveOpts(vec2(0.0, -1.0), 0.5, 2.0);
gln_tGerstnerWaveOpts B = gln_tGerstnerWaveOpts(vec2(0.0, 1.0), 0.25, 4.0);
gln_tGerstnerWaveOpts C = gln_tGerstnerWaveOpts(vec2(1.0, 1.0), 0.15, 6.0);
gln_tGerstnerWaveOpts D = gln_tGerstnerWaveOpts(vec2(1.0, 1.0), 0.4, 2.0);


vec3 displace(vec3 point) {

    vec3 p = point;
    vec3 n = vec3(0.0);

    n += gln_GerstnerWave(p, A, 1.0).xzy;
    n += gln_GerstnerWave(p, B, 1.0).xzy * 0.5;
    n += gln_GerstnerWave(p, C, 1.0).xzy * 0.25;
    n += gln_GerstnerWave(p, D, 1.0).xzy * 0.2;
    //            ...and decreasing amplitude 👆


    return point + n;
}
😞
This live demo uses WebGL
Your browser does not support WebGL.
That's better. Of course, the more layers of noise you add the more detail the waves will have, at the expense of performance.
Turbulent Ocean
However, you will soon realize that Trochoidal Waves alone do not make great ocean waves. Let's take a look at a more typical ocean surface

To achieve this level of detail, we must use another kind of procedural noise - Perlin noise. Of course, we will also layer the Perlin noise to get even more detail out of it.
gl-noise provides a function for Perlin-based Fractional Brownian motion (FBm) - gln_pfbm. Let's use this function to give our ocean much more detail.
gln_tGerstnerWaveOpts A = gln_tGerstnerWaveOpts(vec2(0.0, -1.0), 0.5, 2.0);
gln_tGerstnerWaveOpts B = gln_tGerstnerWaveOpts(vec2(0.0, 1.0), 0.25, 4.0);
gln_tGerstnerWaveOpts C = gln_tGerstnerWaveOpts(vec2(1.0, 1.0), 0.15, 6.0);
gln_tGerstnerWaveOpts D = gln_tGerstnerWaveOpts(vec2(1.0, 1.0), 0.4, 2.0);

// Perlin noise based FBm options (Refer to gl-noise API Refrence)
gln_tFBMOpts fbmOpts = gln_tFBMOpts(1.0, 0.4, 2.3, 0.4, 1.0, 5, false, false);

vec3 displace(vec3 point) {

    vec3 p = point;
    vec3 n = vec3(0.0);

    // Normalize and use `gln_pfbm`.
    n.z += gln_normalize(gln_pfbm(p.xy, fbmOpts));

    n += gln_GerstnerWave(p, A, 1.0).xzy;
    n += gln_GerstnerWave(p, B, 1.0).xzy * 0.5;
    n += gln_GerstnerWave(p, C, 1.0).xzy * 0.25;
    n += gln_GerstnerWave(p, D, 1.0).xzy * 0.2;


    return point + n;
}
😞
This live demo uses WebGL
Your browser does not support WebGL.
Damn, that looks good! How about we get things moving huh?
Let animate
As I mentioned earlier, gln_GerstnerWave accepts a time argument. This argument just offsets the noise in the direction specified by the opts argument, making it look like it's moving.
It's all an illusion.
The time parameter will be a uniform driven by the current time provided by requestanimationframe.
//...

const material = new CustomShaderMaterial({
    baseMaterial: TYPES.PHONG,
    vShader: await loadShadersCSM(pVert),
    uniforms: {
        uTime: {
            value: 0 // 👈 The time unifrom...
        }
    }
    passthrough: {
        side: THREE.DoubleSide,
        flatShading: true,
        color: 0x68c3c0,
        shininess: 1,
    }
}

//...

const render = function(time) {

    //...

    // Update the uniform in the render loop
    if (material && material.uniforms) {
      material.uniforms.uTime.value = time;
    }

    requestanimationframe(render)
}
Then we can use this uniform in the vertex shader
uniform float uTime; // 👈 Recieve the time uniform

gln_tGerstnerWaveOpts A = gln_tGerstnerWaveOpts(vec2(0.0, -1.0), 0.5, 2.0);
gln_tGerstnerWaveOpts B = gln_tGerstnerWaveOpts(vec2(0.0, 1.0), 0.25, 4.0);
gln_tGerstnerWaveOpts C = gln_tGerstnerWaveOpts(vec2(1.0, 1.0), 0.15, 6.0);
gln_tGerstnerWaveOpts D = gln_tGerstnerWaveOpts(vec2(1.0, 1.0), 0.4, 2.0);

gln_tFBMOpts fbmOpts = gln_tFBMOpts(1.0, 0.4, 2.3, 0.4, 1.0, 5, false, false);

vec3 displace(vec3 point) {

    vec3 p = point;
    vec3 n = vec3(0.0);

    // We will also offset the Perlin-based FBm 👇
    n.z += gln_normalize(gln_pfbm(p.xy + (uTime * 0.5), fbmOpts));

    // Use it to animate the waves 👇
    n += gln_GerstnerWave(p, A, uTime).xzy;
    n += gln_GerstnerWave(p, B, uTime).xzy * 0.5;
    n += gln_GerstnerWave(p, C, uTime).xzy * 0.25;
    n += gln_GerstnerWave(p, D, uTime).xzy * 0.2;

    return point + n;
}
😞
This live demo uses WebGL
Your browser does not support WebGL.
Annnd...we're moving! Time to paint
Let's paint
That looks great already, and this is optional, But there's one thing that will elevate it to the next level. Let's color the ocean based on height.
To do so, I will use three-custom-shader-material's diffuse color override. To know more refer to the Readme. But first, we must send the height data to the fragment shader using a varying
uniform float uTime;
varying float vHeight; // 👈 This varying

gln_tGerstnerWaveOpts A = gln_tGerstnerWaveOpts(vec2(0.0, -1.0), 0.5, 2.0);
gln_tGerstnerWaveOpts B = gln_tGerstnerWaveOpts(vec2(0.0, 1.0), 0.25, 4.0);
gln_tGerstnerWaveOpts C = gln_tGerstnerWaveOpts(vec2(1.0, 1.0), 0.15, 6.0);
gln_tGerstnerWaveOpts D = gln_tGerstnerWaveOpts(vec2(1.0, 1.0), 0.4, 2.0);

gln_tFBMOpts fbmOpts = gln_tFBMOpts(1.0, 0.4, 2.3, 0.4, 1.0, 5, false, false);

vec3 displace(vec3 point) {

    vec3 p = point;
    vec3 n = vec3(0.0);

    // We will also offset the Perlin-based FBm 👇
    n.z += gln_normalize(gln_pfbm(p.xy + (uTime * 0.5), fbmOpts));

    n += gln_GerstnerWave(p, A, uTime).xzy;
    n += gln_GerstnerWave(p, B, uTime).xzy * 0.5;
    n += gln_GerstnerWave(p, C, uTime).xzy * 0.25;
    n += gln_GerstnerWave(p, D, uTime).xzy * 0.2;

    // 👋 Set it to the verticle component of the noise
    vHeight = n.z;

    return point + n;
}
In the fragment shader, we can receive and use this height.
varying float vHeight;

// We will set these uniforms shortly
uniform vec3 waterColor;
uniform vec3 waterHighlight;

vec3 calcColor() {

    //          We use the height to bledn between 2 colors 👇
    vec3 diffuseColor = mix(waterColor, waterHighlight, vHeight);
    return diffuseColor;
}csm_DiffuseColor = vec4(calcColor(), 1.0);Let's set the two colors we want the wave to be on the CPU side. This was we can quickly change and try out many colors before we settle on one.
//...

const material = new CustomShaderMaterial({
    baseMaterial: TYPES.PHONG,
    vShader: await loadShadersCSM(pVert),
    uniforms: {
        uTime: {
            value: 0 // 👈 The time unifrom...
        },
        waterColor: {
          value: new THREE.Color("#52a7f7"),
        },
        waterHighlight: {
          value: new THREE.Color("#b3ffff"),
        },

    }
    passthrough: {
        side: THREE.DoubleSide,
        flatShading: true,
        color: 0x68c3c0,
        shininess: 1,
    }
}

//...
😞
This live demo uses WebGL
Your browser does not support WebGL.
We're almost there! This looks good, right? But like the entire field of Computer Graphics, getting it absolutely perfect is a matter of fiddling with paramater values.
Let's add some parameters so we can fine tune the look of the colors.
//...

const material = new CustomShaderMaterial({
    baseMaterial: TYPES.PHONG,
    vShader: await loadShadersCSM(pVert),
    uniforms: {
        uTime: {
            value: 0 // 👈 The time unifrom...
        },
        waterColor: {
          value: new THREE.Color("#52a7f7"),
        },
        waterHighlight: {
          value: new THREE.Color("#b3ffff"),
        },

        // I think these values look great but you may disagree
        offset: {
          value: 0.4,
        },
        contrast: {
          value: 3.1,
        },
        brightness: {
          value: 1,
        },

    }
    passthrough: {
        side: THREE.DoubleSide,
        flatShading: true,
        color: 0x68c3c0,
        shininess: 1,
    }
}

//...varying float vHeight;
uniform vec3 waterColor;
uniform vec3 waterHighlight;
// 👋 All our parameters
uniform float offset;
uniform float contrast;
uniform float brightness;
vec3 calcColor() {
// We will assemble a mask with these parameters
float mask = (vHeight - offset) * contrast;
// And then use the mask 👇
vec3 diffuseColor = mix(waterColor, waterHighlight, mask);
diffuseColor *= brightness;
return diffuseColor;
}😞
This live demo uses WebGL
Your browser does not support WebGL.
And were done! Beautiful!
You might have noticed, I also added some sliders for you to play around with the values. Here is a link to the demo if you'd like to play with it on a bigger screen...
...and here is the code!
