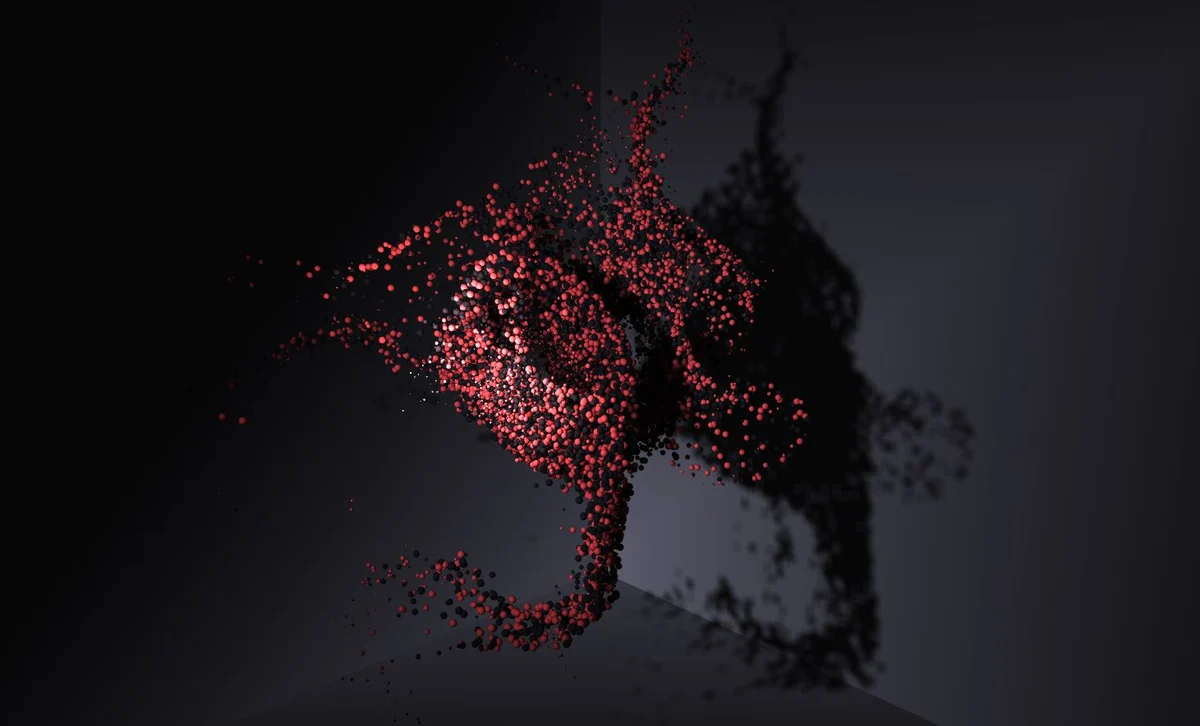
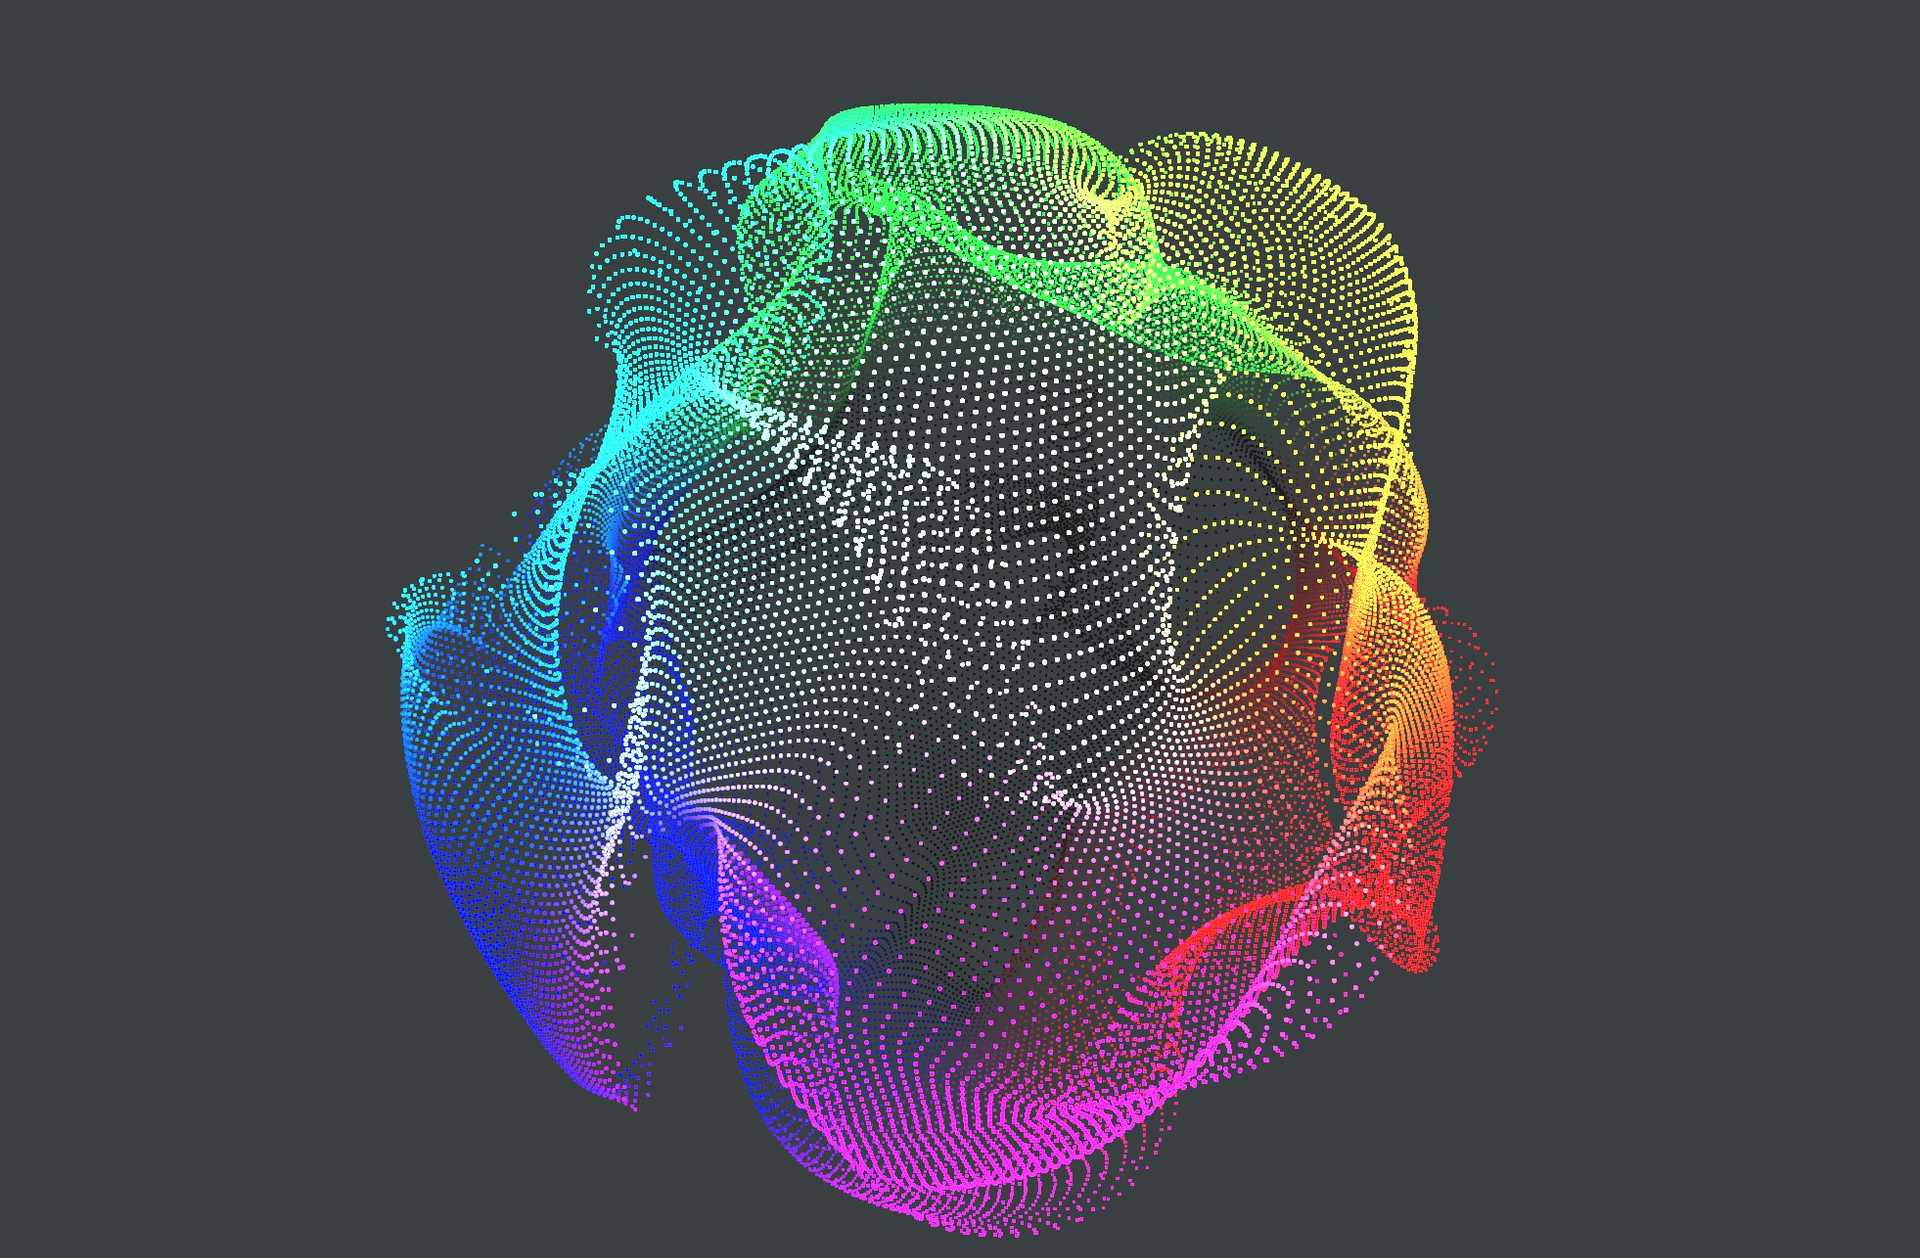
Particles are one of the most mesmerizing systems across computer graphics. They are simply a group of objects that act together, following the same set of rules but with some amount of randomness. However, they are only impressive when they number in the thousands or hundreds of thousands.
In this article, we will learn how to render over a million particles in ThreeJS.
A few months ago I stumbled across this excellent article by Daniel Velasquez in which he uses Instancing and Shaders to render about 100K particles in real-time. Simply put, here is how he does it - He uses Instancing to render a sphere 100K times, then moves the vertices around within the Vertex Shader of the sphere's material.

This is a great way of doing it, especially if you have some custom geometry that you'd like to use. In fact, this very website uses this technique to render its particles but we can do better.
The secret? Points
In the time since I read that article, I found out about ThreeJS's Points object and Points Material. The Points object lets us render 2D representations of each vertex of its associated geometry.
I thought to myself...
"Hey, why not combine this with some Shader magic to make million of particles?"
...and here we are! If we make a geometry with 1 million vertices and render it as a Points object, we get 1 million particles ready for us to play with, and since we do not calculate lighting or shadows on these points, we save a lot of cycles and the simulation runs in real-time.
This may be a shortcoming actually. Again if you want lighting and shadows you're going to have to use Daniel's technique.
This article assumes you've got the basics of ThreeJS down and will move quick. This is not meant to be a "beginners guide".
Creating the points
As mentioned, we need some vertices to generate the points from. Of course, we can generate our own BufferGeometry or use an imported model but we can also do this trivially using inbuilt Geometries. I will use the IcosahedronGeometry as it has a more uniform distribution of vertices
The
SphereGeometrypinches vertices at its poles.
// Creating the Icosahedron
const geometry = new THREE.IcosahedronGeometry(3, 64); // ~250,000 Vertices for now
const material = new THREE.MeshPhongMaterial({ color: 0xf38ba0 });
const ico = new THREE.Mesh(geometry, material);
scene.add(ico);
😞
This live demo uses WebGL
Your browser does not support WebGL.
Here is an Icosahedron with about 200k vertices (we'll graduate to 1M once we've got things set up). We can convert this mesh into points simply by replacing THREE.Mesh with THREE.Points and the material with THREE.PointsMaterial.
// Creating the Icosahedron
const geometry = new THREE.IcosahedronGeometry(3, 64); // ~250,000 Vertices for now
const material = new THREE.PointsMaterial({ color: 0xf38ba0, size: 0.1 });
const ico = new THREE.Points(geometry, material);
scene.add(ico);
😞
This live demo uses WebGL
Your browser does not support WebGL.
If you zoom in, you can see the individual points. They appear as 2D squares and always face the camera. They also take the position of their underlying vertices but this is no fun. Let's move them around!
Moving them around
To move the particles around we can take a page out of Daniel's article and use shaders. Specifically, the Vertex Shader. As these points correspond 1:1 with the vertices of the underlying geometry, we can treat them as such and move them around in the Vertex Shader.
We could write the shader from scratch ourselves but I like the conveniences of the inbuilt PointsMaterial, like having easy control over size and color, or texture support. I'd be perfect if all I had to write was the code to move them around and nothing else.
I am going to patch
PointsMaterialwith my own little bit of shader code.
Of course, doing this is simple - use the onBeforeCompile hook, but even simpler is using a library I wrote myself.
import { CustomShaderMaterial, TYPES } from "three-custom-shader-material"

//...

// Creating the Icosahedron
const geometry = new THREE.IcosahedronGeometry(3, 64); // ~250,000 Vertices for now
const material = new CustomShaderMaterial({
  baseMaterial: TYPES.POINTS, // Our base material
  // Our Custom vertex shader
  vShader: {
    defines: await (await fetch("defines.glsl")).text(),,
    header: await (await fetch("header.glsl")).text(),
    main: await (await fetch("main.glsl")).text(),
  },
  // Some uniforms
  uniforms: {
    uTime: {
      value: 0,
    },
  },
  // Options for the base material
  passthrough: {
    size: 0.1,
    color: 0xf38ba0,
  },
});
const ico = new THREE.Points(geometry, material);
scene.add(ico);
We set the base material to POINTS (this works with all standard material). Notice the vShader object, here is what the keys mean:
defines: This part is should include all our#defineswhich we have none of.header: This section is injected outside themain()of the underlying shader, thus, this is where our attributes, uniforms, varying and function definitions go.main: Section is injected into the underlying shadersmain()and must define avec3 newPosandvec3 newNormal.
Let's write our shaders!
The shaders
We have no #defines thus, defines.glsl will be empty.
First, let's receive the uniform we passed in - uTime
uniform float uTime;Perfect, now we can write our main shader body
vec3 newPos = position;
vec3 newNormal = normal;
😞
This live demo uses WebGL
Your browser does not support WebGL.
And we see...no change? Well, all we have done is set newPos to the original position. We must modify it to see change.
To do so, I will use Curl Noise. Here is a spactacular implimentation of it by Isaac Cohen. To load this in I will use yet another library written by yours truly.
This library provides many popular noise function definitions. It also provides loaders that automatically append them to the start of our shaders! We will use the loadShadersCSM loader from gl-noise.
import { loadShadersCSM, Simplex, Curl } from "gl-noise/build/glNoise.m.js";

// ...

// Load shaders with the function definitions we want
const chunks = [Simplex, Curl]; // Curl noise requires Simplex noise.
const paths = {
  defines: "./shaders/defines.glsl",
  header: "./shaders/header.glsl",
  main: "./shaders/main.glsl",
};
const vertexShader = await loadShadersCSM(paths, chunks);

const material = new CustomShaderMaterial({
  baseMaterial: TYPES.POINTS,
  vShader: vertexShader // We can directly use the vertex shader returned
  uniforms: {
    uTime: {
      value: 0,
    },
  },
  passthrough: {
    size: 0.1,
    color: 0xf38ba0,
  },
});
Using Noise
Now, in main.glsl we can use the shaders we loaded using the loader.
float time =  uTime * 0.00005;
vec3 value = gln_curl((position * 0.2) + time);

vec3 newPos = position + (value * normal);
vec3 newNormal = normal;
Of course, don't forget to update the time unifrom in your render loop!
function render() {
  controls.update(time);

  // Material.uniforms is set asynchronous-ly
  // so we need to make sure it exists
  if (material && material.uniforms) {
    material.uniforms.uTime.value = time;
  }

  renderer.render(scene, camera);
}
😞
This live demo uses WebGL
Your browser does not support WebGL.
And here we have it! Beautiful particles, all 200K of them, running in parallel on the GPU in real-time. We can still take this a step furthur and color the particles based on their position.
I will use THREE-CustomShaderMaterial's fShader option to inject this little bit of shader code into the materials fragment shader.
const material = new CustomShaderMaterial({
  //...
  fShader: {
    defines: " ",
    header: `
      varying vec3 vPosition;
      `,
    main: `
      vec4 newColor = vec4(vPosition, 1.0);
      `,
  },
  //...
});
Of course, we also must set vPosition in the vertex shader.
uniform float uTime;
varying vec3 vPosition; // 👈 Newfloat time = uTime * 0.00005;
vec3 value = gln_curl((position * 0.2) + time);
vec3 newPos = position + (value * normal);
vPosition = newPos; // 👈 New
vec3 newNormal = normal;😞
This live demo uses WebGL
Your browser does not support WebGL.
Honestly, we can go at this forever, tweaking little things and improving them. You can also use any kind of shader, even fancy multi-pass ones to drive these particles.
You can set the resolution of the IcosahedronGeometry to 138 to get ~1M vertices and as promised, here is a demo to a simulation with 1 million particles...
...and here is the code!
